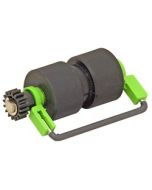
Insert Brake Roller in Scanner
Instructions for Replacement of Brake Roller
1. Remove any documents on the ADF paper chute.
2. Open the ADF.
3. Remove the Brake Roller from the scanner.
- Grab both sides of the Brake Roller cover, and press to the inside and pull down (towards you).
- Lift up the right side of the Brake Roller and remove the right side of the shaft. Then pull the left side of the shaft out of its hold to remove it.
4. Remove the Brake Roller from the shaft.
5. Attach the new Brake Roller. Insert the shaft to the Brake roller aligning the shaft tab with the slot of the Brake Roller.
6. Attach the Brake Roller to the scanner in the reverse order of removing.
- Set the left side of the shaft into place first, then fix the right side of the shaft.
- Close the Brake Roller cover.
7. Close the ADF. Press down on the center of the ADF to return it to its original position until the ADF lever locks.
8. Reset the Brake Roller counter. See section "5.2 How to Check and Reset the Consumables Counters."
Related Products
-
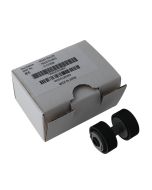
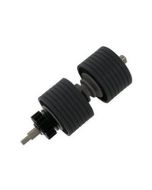 Brake Roller, PA03575-K013$65.00
 -
 Brake Roller, PA03450-K013was $65.00 Special Price $60.00
 -
 Brake Roller, PA03338-K010was $66.00 Special Price $50.00
 -
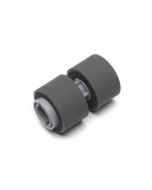
 Brake Roller, PA03540-0001$45.00
 -
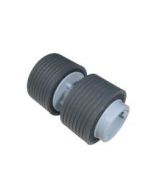 Brake Roller, PA03576-K010$66.00
 -
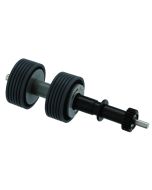
 Brake Roller, CA04315-F705was $138.00 Special Price $67.00
 -
 Brake Roller, PA03670-0001$45.00
 -
 Brake Roller, PA03710-0001$57.00
 -
 Brake Roller, PA03740-K010was $66.00 Special Price $62.00