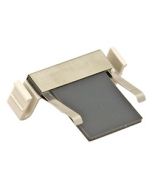
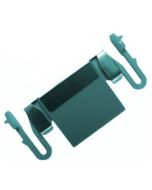
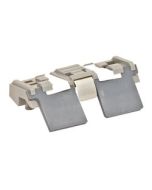
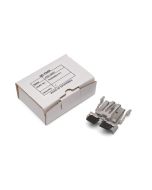
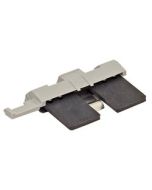
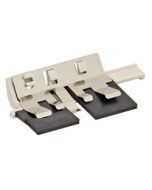
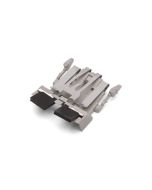
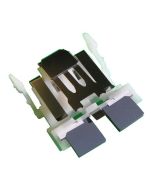
Insert Pad Assembly in Scanner
Instructions for Replacement of Pad Assembly
1. Remove any documents on the ADF paper chute.
2. Open the ADF by pushing the ADF button and turning the ADF cover to the front.
3. Remove the Pad Assy from the scanner. Press the knobs on both ends of the Pad Assy, and pull the Pad Assy upwards to you. When doing this, take care not to catch the pick springs.
4. Attach the new Pad Assy. Hold both ends of the new Pad Assy and attach it to its installation location. When doing this, take care not to catch the pick springs. Make sure the Pad Assy is completely attached. An incompletely attached Pad Assy might cause document jams or other feed errors.
5. Press down on the center of the ADF to return it to its original position and lock the ADF button.
6. Reset the Pad Assy counter. Please refer to the Operater's Guild "Chapter 6" for compete instructions.
