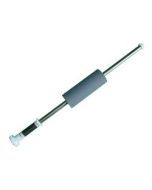
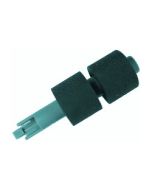
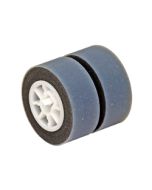
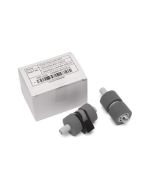
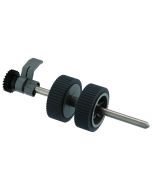
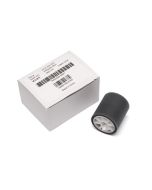
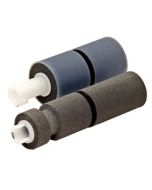
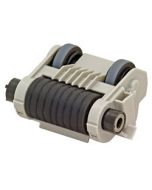
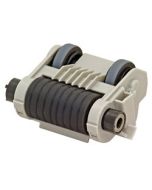
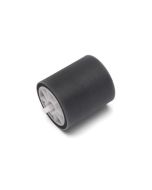
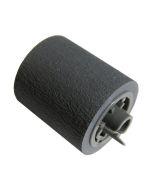
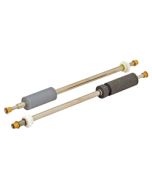
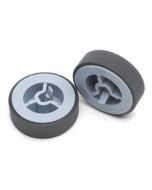
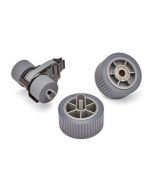
Insert Pick Roller in Scanner
Instructions for Replacement of Pick Roller
1. Remove any documents on the ADF paper chute.
2. Remove the ADF paper chute.
3. Open the ADF by pushing the ADF button and turning the ADF cover to the front.
4. Remove the Pick Roller from the scanner.
- Grip the knobs on the sheet guide between your fingers, and lift up to remove.
- Rotate the Pick Roller bushing in the direction of the arrow.
- Remove the Pick Roller while lifting it up in the direction of the arrow.
- Remove the Pick Roller from the shaft while lifting up the tab on the Pick Roller.
5. Attach the new Pick Roller. Insert the new Pick Roller aligning the protrusion on the axis with the groove in the Pick Roller. Make sure that the Pick Roller is completely attacthed. An incompletely attached Pick Roller might cause document jams or other feed errors. When attaching the Pick Roller, make sure that the roller clicks in place.
6. Attach the Pick Roller to the scanner. The procedure to attach the Pick Roller to the scanner is the inverted procedure fo removing the Pick Roller from the scanner. After attaching the Pick Roller to the scanner, perform the following procedure to fix it in place.
- Turn the Pick Roller bushing in the direction indicated by the arrow.
- Move the sheet guide claws in the direction indicated by the arrow to fix the sheet guide.
7. Press down on the center of the ADF to return it to its original position and lock the ADF button.
8. Reset the Pick Roller counter. Please refer to the Operater's Guild "Chapter 6" for compete instructions.
